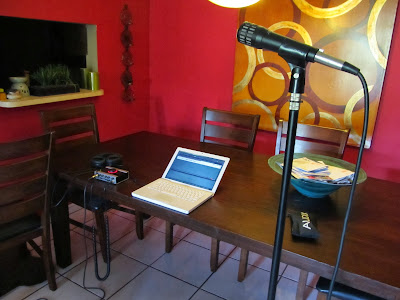
Kevin here again with Week #2's Peer Review Assignment. Today we're going to work with software instruments and MIDI in Ableton Live. To demonstrate this we're going to look at recording a drum part using a MIDI controller. Recording MIDI in Ableton Live is really easy, and once you get the hang of it you'll be laying down dope beats in no time.
First thing's first, make sure your MIDI device is configured with your DAW.
For this demonstration I'm going to use an old Akai MPD, but you can use any MIDI controller you have lying around. If you don't have a MIDI controller, don't fret, you can use your computer keyboard to input MIDI data.
Once you've started up the DAW, create a new MIDI track.
- Shortcut - Command+Shift+T (Mac) Ctrl+Shift+T (PC)
Be sure to name your track something simple but useful.
Open up your browser on the left side of your screen (there should be a button) and navigate to your instruments folder. Ableton comes with plenty of preset instruments one of which is the Drum Rack. The Drum Rack is a fantastic MPC-style software instrument with an insane amount of flexibility. For the sake of simplicity I'm going to load a preset kit from the Kits folder by clicking on it and dragging it onto my MIDI track. It is also possible to just drag the instrument next to your track and have Ableton create a new track automatically.
Your track should now display a grid like instrument. Each cell in the grid contains a separate sample, which in this case are different pieces of a drum kit. When you play a MIDI note that corresponds to a given cell, the sample will play back. Make sure your track is armed to record so you can hear your performance.
In order to record in time you may want to use a click or metronome. Ableton keeps its tempo related setting in the upper left corner of the screen. On the right of the time signature there is a box with two small circles in it. Click on this box to activate and de-activate the click. The box will light up to let you know it's on.
This would also be good time to set your tempo if you haven't already. To the far left of the metronome you'll see your BPM counter and a Tap Tempo button. Type or tap in your desired tempo.
But wait… what if you want the click to play before you hit record? To enable to count-in right click or Ctrl+click the metronome button to bring up the count-in options. I'll set mine to 1 bar.
Now you're ready to record. There are several ways to record MIDI in Ableton but I like using the arrangement view because it's similar to recording audio.
- Shortcut - Hit Tab to switch between views in Ableton.
Press record on your transport and then play. Time to shine.
When you're finished hit stop or the space bar. You can see the data you recorded in on your MIDI track. I only want an eight bar loop so I'll trim the excess by hovering over the end of the region until I get the bracket. Click and drag the end until you get your desired length.
Double click the region name to expand the region in the lower pane. In this zoomed-in view you can adjust note placement and velocity.
You can select all the data and hit Command+U (Ctrl+U) to auto quantize. But I like a little more control so hit Command+Shift+U to bring up the quantization options. Adjust your setting however you like and hit Ok.
Now your MIDI should all be aligned with the grid. Yay!
From here you can enable loop recording and overdub mode and record more parts for our beat. If we move our loop brackets to be 8 bars then our drum loop will play continuously, allowing us to add layer after layer without having to stop the music.
It should be noted that you can set Ableton up to quantize right after you record so you don't have to start and stop every time you want to track something. This is great if you're playing live of want to track several parts with minimal interruption.
I hope this small tutorial can help one of you out there feel more comfortable with MIDI. Once you get the hang of working with software instruments and recording seamlessly, there's no telling what you'll come up with. Experiment with different drum kits and eventually build your own. Ableton has tons of options and you are truly only limited by your imagination. Have fun.


